Here's a cheap-easy-fast project!
This is another craft project that gets the creative juices going before tackling bigger projects. Plus, it uses up fabric scraps too small for most projects but too nice to throw out.
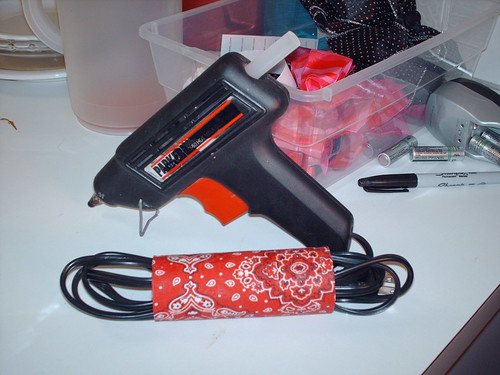
I may have a cluttered home, but I'm kind of anal retentive about keeping things organized... as much as possible, anyway. These cord keeper tubes are here and there in nearly every room because it keeps electrical cords neat and compact. There's one on the cord for my kitchen hand mixer, electric frying pan, curling iron, hair dryer, flat iron, spare extension cords, heating pad, glue gun (shown here), the iron in the laundry room, etc etc. I hate pulling out something with a cord and having the cord all twisted and tangled around other stuff. That drives me nuts.
Here's how to make your own:
-Protect your work surface because this project is messy and gluey. A still-folded paper grocery bag works fine.
-Start with a cardboard tube. Toilet paper tubes work great because of the length, but you can use wrapping paper tubes or paper towel tubes, too.
-Grab the white glue and a plastic spoon.
-You'll need an 8"x8" square of fabric (no linen because it dries too scratchy)
-Get a piece of waxed paper ready
1. Lay out the fabric on a protected surface, right side down.
2. Slather with white glue and spread it out to all edges with the plastic spoon.
3. Lay the tube at one end of the fabric and roll up.
4. Tuck the fabric into the ends of the tube. The wet fabric will fight you. Fight back with the spoon. Be patient.
5. Smooth out the fabric and rub in any areas that are still heavily glued.
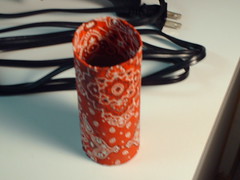
6. Stand up the wet gluey tube on the waxed paper and let dry overnight.
Tah-dah!

No comments:
Post a Comment